sIG-33 Conversion
Project "Paper to Metal"
in 1:25 scale
by Josef Fuchs
Model photographs by the author
Editor's Note:
This article and its subject are truly unique, no matter whether you look at it from the standpoint of modeling in general, or from that of card modeling in particular. We've had our debates about "multi-media" in card modeling -- whether to include wire or not, the ethical implications of wooden wheels, and so on. But what about the complete conversion of a card model in standard booklet form to sheet metal, modified standard metal components, and the occasional piece of card stock? That's exactly what Viennese card modeler Josef Fuchs has done with Answer's 1:25 scale sIG-33 howitzer. There are very few of us who have the skill, equipment and perseverance to undertake this kind of project, so this article is offered more as an example of excellence in modeling per se, but with a very close connection to card modeling.
Because of the length and level of detail, not to mention the extensive photographic record of the project that Josef maintained, especially after he got past the initial stages of constructing the gun carriage, we will present the article in several parts over the next few issues. We have encouraged Josef to submit his article to one of the mainstream print publications, and we hope that any helpful suggestions from CMO readers in that regard would be forwarded to him directly at j.fuchs@eltax.at. Keep in mind that this kind of conversion would be nearly impossible if the original were a plastic model. It just goes to show that card models more closely mimic the original than models in almost any other medium.
Josef's English -- while far more proficient than my German -- is by his standards a little limited. At his request, I've edited his comments to make the English flow a bit more smoothly.
Josef also contributed the Blenheim photo review elsewhere in this issue. Both the Blenheim and the sIG-33 are a testament to skill of a true master modeler. Read on and enjoy!
WHG
Background:
I will tell you a little bit about myself. I'm a 46 year old technician, who builds "driver desks" for rail vehicles (Bombardier, Siemens, etc.). I started with paper modeling in 1974 when I was 16, preferring models from the Austrian company GELI. After building (and crashing) nearly every model from this company, I tried all other sort of modeling (plastic, wood, metal, etc.). After a long hiatus due to family and job requirements, I returned to my roots 3 years ago and started to explore the fantastic models from our Polish friends (GPM, Halinski, etc.). After building the Bristol Blenheim from GPM and transforming the children's room into a handicraft room, I've now become an enthusiastic model builder, with a preference for paper models and an interest in searching for the special "kick" in building a very unique model. For this reason, I've tried to do something new with the "paper to metal" project. I took the "sIG-33" paper model from a Polish distributor (Answer) and used it as the basis for a new construction in metal.
The Process:
When I began this project, I first looked for a paper model that would be a good basis for the conversion. Since parts with rounded surfaces are very difficult to make in metal, I chose the model of the German sIG-33 cannon (sIG stands for schweres Infanterie Geschütz), made by the Polish distributor Answer in 1:25 scale.
 On the computer I constructed a 3D-model of the cannon, using the existing parts
from the paper model by transfering them into sheet-metal and doing some
corrections and extensions with a little help from some very good pictures of
an original gun on the internet. The parts were arranged and transferred to film as the basis for making photo etched
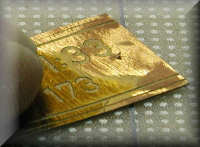
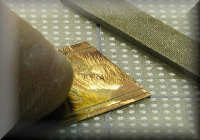
parts. All parts were etched to 0.3 mm brass material.
Some parts were made from a combination of paper and metal components, especially where compound curves were needed. For making a good paper to metal connection, first glue the parts together with Micro Kristal Klear from Microscale. After this, I use cyanoacrylate glue (very thin) and apply it to the paper parts. They will harden like plastic and make a very good connection with the metal parts. After drying, I sand the paper parts with fine-grit paper to make a good surface for painting.
Tip: For etching your own parts look at the web site of Saemann-Ätztechnik.de, where you can find all techniques, tools and basic materials. (The site is only in German, however.)
Metal parts were joined together via soft-soldering or cyanoacrylate glue.
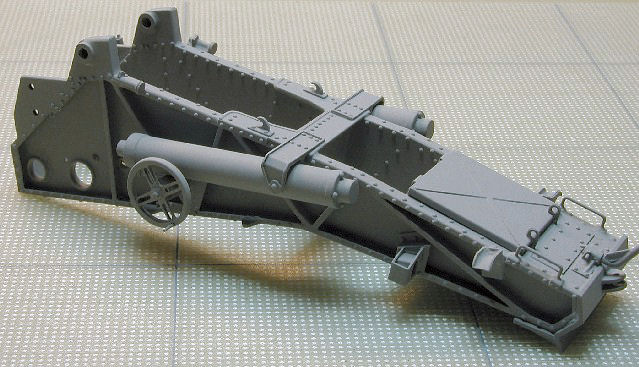
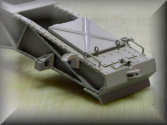
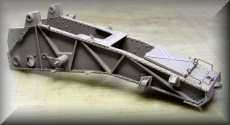
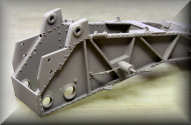
Editors Note: The following pictures of the gun carriage were submitted with Josef's response to my first inquiry about his project, which he had mentioned in an earlier e-mail. They show the main body of the carriage already completed, but little of the detail leading up to this point. The remaining construction was covered by more than 125 detailed photos, only a portion of which can be included in this series.
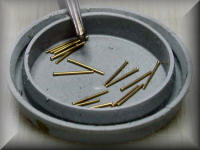
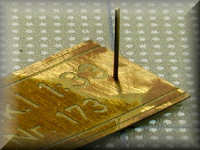
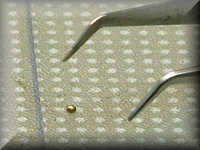
All rivets were real ones, made of brass, purchased from Hassler-Profile in Liechtenstein. They have a shaft of 0.5 mm and a head of 0.8 mm. After shortening the shaft to a length of 0.3 mm (thickness of the brass sheet), I glued them with Gunze's Mr. Metal-Primer into the etched holes.
Tip: Working with very little rivets is not so difficult. Make a hole of the correct diameter (same as the rivet's shaft) in the right spot on the model. If you want do mount the rivet in 0.3 mm sheet metal, you also need a scrap piece of the same material with the same size hole. Put the rivet in the hole of the scrap material and cut the excess length with side cutters to make it as short as possible. Take a fine needle file and remove the rest of the shaft until it is flush with the scrap metal. Remove it and turn it, so that the round head is at the top. Apply it with very fine tweezers in the hole at the model and attach it carefully with very thin colorless paint. (I use Gunze's Mr. Metal Primer). I've found the best tweezers to be those used for handling very small surface-mounted electronics components. [Editor's note: Look for these on the Internet from electronics tool distributors.]
Most axles were made of small brass tubes, beech wood or steel wire.
Tip: To form a very straight piece of wire, fasten one end in a vise and pull the other end with a pair of pliers and restrained force. The wire will become a little bit longer, but also very straight. Cut and trim it to size it with a little cutting-off wheel (Proxxon, Dremel, etc.) and you get a perfect axle. Using some special flux, it is also possible to soft solder it with brass or something else.
Tip: There are many ways to make the narrow rolls or tubes of paper that are needed by many paper models. My technique is the following. The hardest part of the process in making such a roll is starting it. I use a little strip of wrapping tissue ("silkpaper") and glue it to the beginning of the paper roll on the outside. The wrapping tissue, which is often used for wrapping flowers and gifts, is very thin and strong. It is no problem to roll it around a little piece of straight wire (see above); and when you come to the point where you change over to the paper part, wet the paper part with a little water to get past the the change in thickness. After glueing, rolling, gluing, rolling, etc., you end up with a perfect roll of paper. After drying you could leave the wire in the paper roll to strenghten it, or you can also remove it, by turning it carefully in the direction opposite to the roll until the bonding loosens.
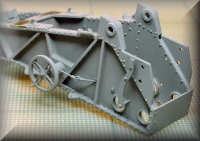 Continuing now with the model, it is time to add components to the main carriage frame and finish the wheels.
Each of the two handwheels of the elevation adjustment was made of 4 brass parts (two inner parts with the spokes and two outer rings) which were soft welded together. After this I put them in a mini drill to grind and polish them with low rotation to a soft outline. The handle was a little piece of steel wire, which was also soft welded in place. You can see one of the handwheels near the left side of the accompanying photo.
Tip: With special flux it is also possible to soft weld steel and to do a good connection to other welded parts (www.fohrmann.com).
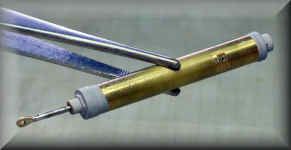
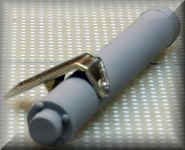
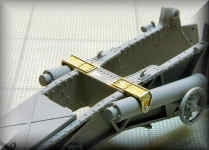
Mounting of the main cylinders of the elevation adjustment was a little bit tricky, but after some effort, they were in place and fully movable to function in the completed model. Shown here are some photos of the cylinders under construction, and as mounted on the carriage. The elevation gear, shown in the last of these photos, is connected to the elevation handwheels.
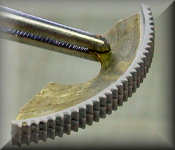
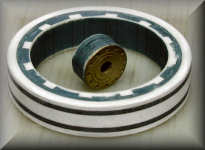
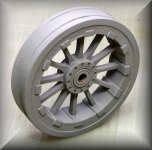
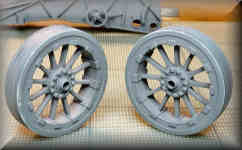
The main carriage wheels were completed after I redid the outer surface (the part that contacts the ground). I happened to make a little mistake, the middle strip of the tread was not exactly in the middle, so I ground it away and added a replacement piece. The little cone near the axle was made with the original paper part and strengthened with superglue.
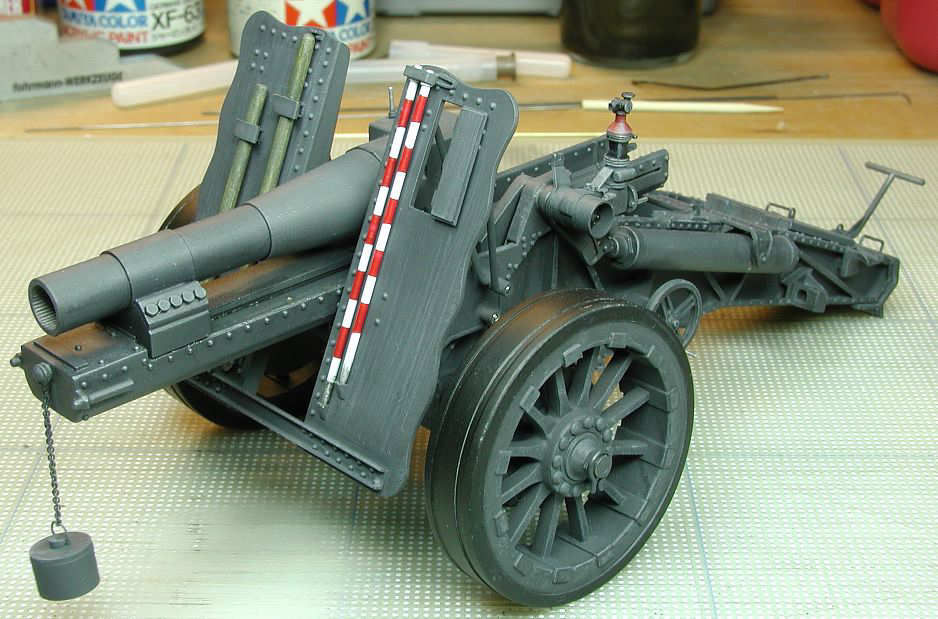
After mounting the parts I primed all with an airbrush to get a good base for the finish color (German panzer grey).
Tip: Cyanoacrylate or superglue is a very important little helper for every model builder but, unhappily, it is nearly impossible to use the little bottle until it is really empty. It often ends up unusable because the opening becomes completely blocked by dried superglue, after only 20% to 30% of the contents have been used. I try to get around this by using hypodermic syringes with small needles to apply the glue. I draw a little bit (1-2 ml) out of the original bottle and after using I park the syringe with the needle downward in a glass of acetone (nail polish remover), which also serves as a thinner for superglue. If the needle becomes plugged by glue, I heat it with a cigarette lighter (very carefully), and this will burn out the glue and free the needle. (Don't push the plunger of the syringe while you're doing this or you will get a flamethrower!) This way, the original glue bottle will stay clean for a longer period of time and can be used nearly to the end. It's also a good idea to store superglue in the refrigerator to help make it usable for a longer period of time.
Editor's note: If you use acetone, make sure you have adequate ventilation and that the acetone container (including the one that holds the needle) is completely sealed when not in active use. Also, be careful with fire anywhere in the vicinity of acetone. Take the clogged needle outdoors to melt the dried residue if you want to try Josef's technique. Please don't try it in your house!
The following photo shows the carriage as completed so far. The next article in the series will discuss completion of the undercarriage and finishing of the gun carriage, including final coloring.
