Photos by the author
Rozmberk Castle, drawn by Richard Vyskovsky, is my third Erkotyp kit, and probably the most pleasing to build. That is not to say that the other two were boring, far from that, but Maria Postorn� was somewhat marred by a very thick paper and Z�mek Pardubice was rather labour intensive. Photo Reviews of those two models are available for you to see in previous issues of this magazine.
Getting back to Rozmberk, and as you surely know, Mike Stamper already did a detailed Construction Review, also available in previous issues. I can only advise you to read it and to study it if you intend to build one! That is precisely what I did as the instructions, in Czech and German, are useless to me...After that Construction Review, all that I can do is to show some pictures of my model.
Let's begin with the inner yard - Pictures 1 and 2.

Picture 1 - inner yard, looking from the rear.
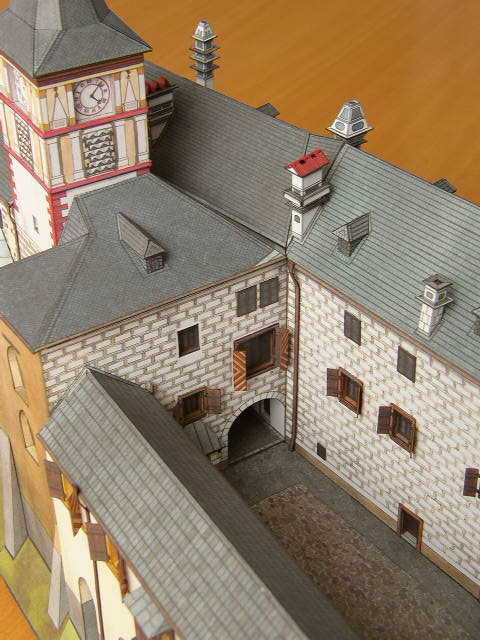
Picture 2 - inner yard, looking to the left. Picture 2 is a good example of how Erkotyp's kits are: lots of detail (windows, doors, drain tubes...) make up into an impressive number of parts. They can be repetitive and a little tedious to build, but not so much in this model, as things are more varied than usual. Just look at some chimneys to check that!
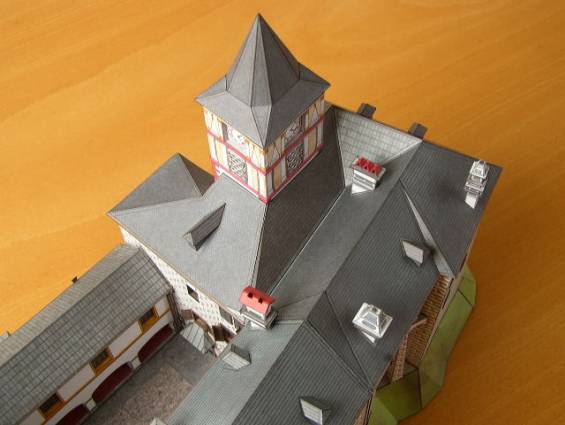
Picture 3 - some very funny chimneys!
Picture 4 shows the only entrance to the castle - a woody (in the real thing, of course!) bridge. By looking carefully, as it is very dark, you can notice some detail in the inner yard, beyond the tunnel whose end is clearly visible in Picture 2.
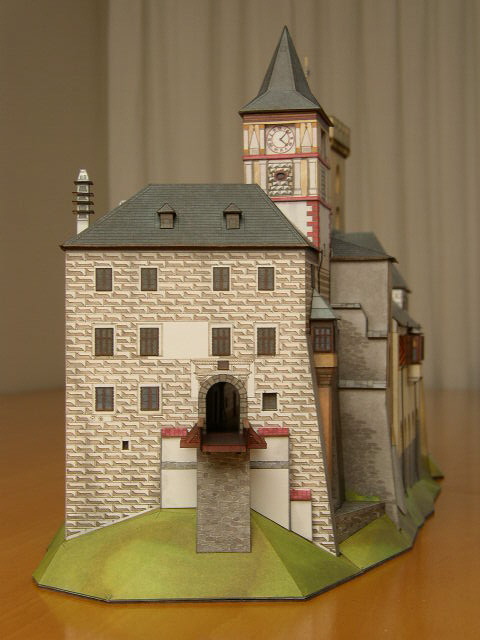
Picture 4 - the wooden entrance bridge.
Unlike Mike, I had no problem with the green parts that surround the castle but I discarded the original paper base, as it would not fit properly. After finishing the model I cut a base out of thick card, with its exact shape. I painted the edge of it, and that is quite clear in Picture 4.
I also had a problem mating the big sections 'A' and 'B' of the kit. The problem may not be in the same place as Mike noted it, because we surely followed different paths to put the whole thing together. Picture 5 is a detail of the back wall, where I had to glue a 1mm strip of paper to cover a gap that persisted between sections 'A' and 'B'. I painted it with a brown pencil and the end result is not too bad. It is just left of the drain tubes.
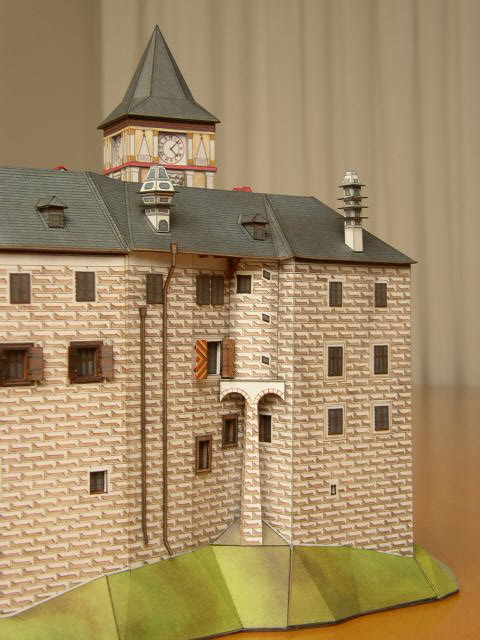
Picture 5 - Back wall, with a strip of paper to fill a gap.
Let me finish with three general pictures. They show to good effect what I said before about the variety of the architecture. This makes the kit very pleasing to build and the finished model very pleasing to see.
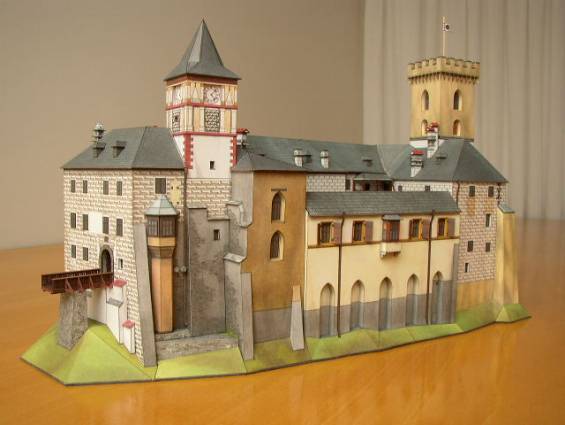
Picture 6 - Frontal view.

Picture 7 - Rear view.
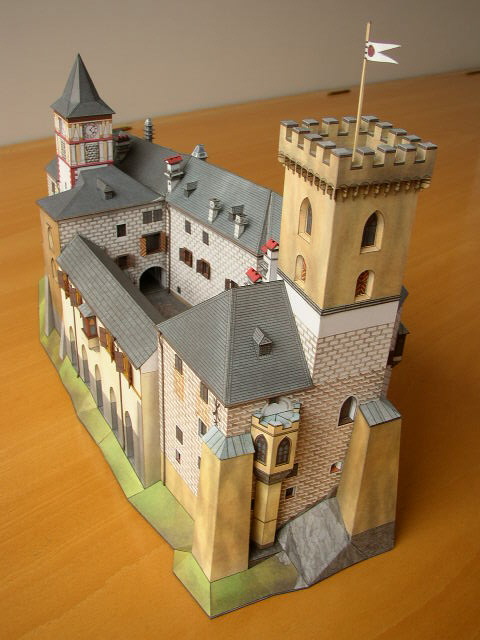
Picture 8 - Right view.
